A Guide to Polishing Rims for those in Auto Detailing

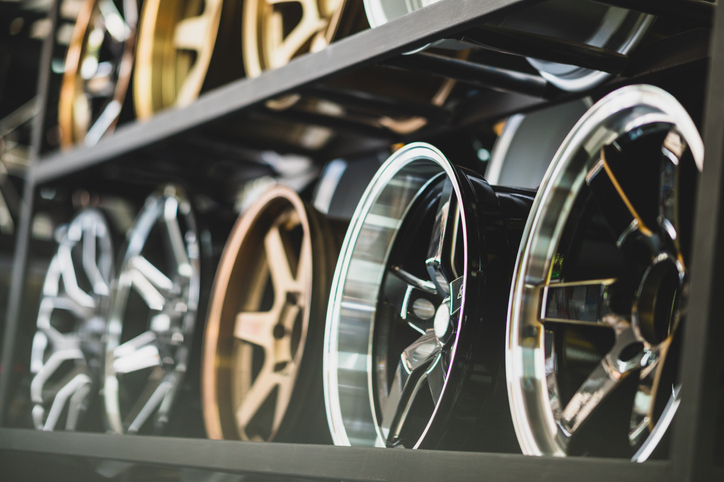
When admiring a vehicle’s appearance, the rims are often one of the first things we notice. Rims are the outer facing component of the wheel, with a unique design that’s determined by the make and model of the vehicle. Because of their proximity to the road, rims are a component that can, easily pick up dirt and debris, requiring regular cleaning. That’s why it’s important that when a vehicle is brought in for detailing, the rims are carefully cleaned and polished, resulting in a flawless final product that can be presented to the customer.
As an auto detailer, knowing how to polish rims will be an important and relevant skill within your line of work. At CATI, you’ll gain hands-on training, preparing you to perform quality automotive detailing jobs for customers.
If you’re pursuing a career in auto detailing, read on to check out this guide on polishing rims!
Get Familiar With Various Types of Rims
Before you start cleaning and polishing the rims of your customers’ vehicles, you’ll need to become familiar with the different types of rims out there. The type of metal used in the rims will determine the methods of cleaning and polishing you’ll have to undertake. Rims are typically made from an alloy, steel or chrome, and each requires a unique method of cleaning and polishing, as using the wrong polishing products and chemicals may cause irreversible damage. When you launch your auto detailing career, it’s important to avoid making this mistake, as it allows for corrosion to occur in the material of the rims.

Begin Your Auto Detailing Process by Cleaning the Rims
Before you begin polishing the rims, it’s important to thoroughly clean them. In auto detailing, using soap and water is considered the safest way to start the cleaning process. It’s also the safest way to attempt to remove the corrosive brake dust that develops over time as brake pads begin to wear and tear. During the cleaning process, you’ll use pressurized water to remove the dirt and grime, following with a microfiber towel, cloth, or a non-abrasive sponge to wipe away the rest of the dirt from the rims. If dirt and grime persist, use a non-acidic alloy wheel cleaner on rims without clear coatings, or a soft brush on coated rims. You can then use detailing clay coupled with a lubricant to remove any remaining dirt residue.
Smooth the Surface of the Rims
Depending on whether your customers’ rims have a clear coat or not, the process you use to smoothen them will differ. If your customers’ rims don’t have any clear coating on them, then a possible method involves the use of 400-600 grit sandpaper. This can be applied in even strokes in one direction in order to eliminate any scratches and smoothen the surface of the rims. However, on clear-coated rims, you should avoid using grit sandpaper, as it may cause damage. Instead, after rinsing and drying the rims, you’ll need to apply an alloy brightener to prevent oxidation. Once you apply the alloy brightener, wipe the rims down using a new cloth.

Finally, Start Polishing Away!
As with the previous steps in the process, your polishing method will depend on the type of rim you’re working with. For example, you may need to determine whether clear coat or alloy compatible polish products are necessary for the job at hand. When you start applying your polish, you’ll need to do it in an even, circular motion using a cloth or a non-abrasive sponge attached to a polishing tool. Once you’ve completed your first round of polishing, it’s time to go over the rims once more with an ultra-fine finishing polish. This will give the rims their characteristic gloss. You can then wipe the polish off using a clean cloth, and then apply a wax coat to maintain the shiny finish.
Are you interested in professional automotive detailing?
Contact CATI for more information.
